Wednesday, July 27, 2011

French Night :-)


French night was a success. The chicken was extremely juicy and the asparagus and cream sauce was perfect. I messed up the sauce that goes with the chicken, but the chicken didn’t need the sauce anyways. Lucy did not eat the asparagus, no surprise there, but all the other girls ate more than one piece.

I personally am enjoying doing the different themes of food from around the world. We talk about where the country is that the meals are originally from. Fortunately because of the Wonder Pets, Dora, Diego, and other shows they are kind of aware of the countries. For this dinner we told the girls how to say hello, goodbye, and beached whale in French.
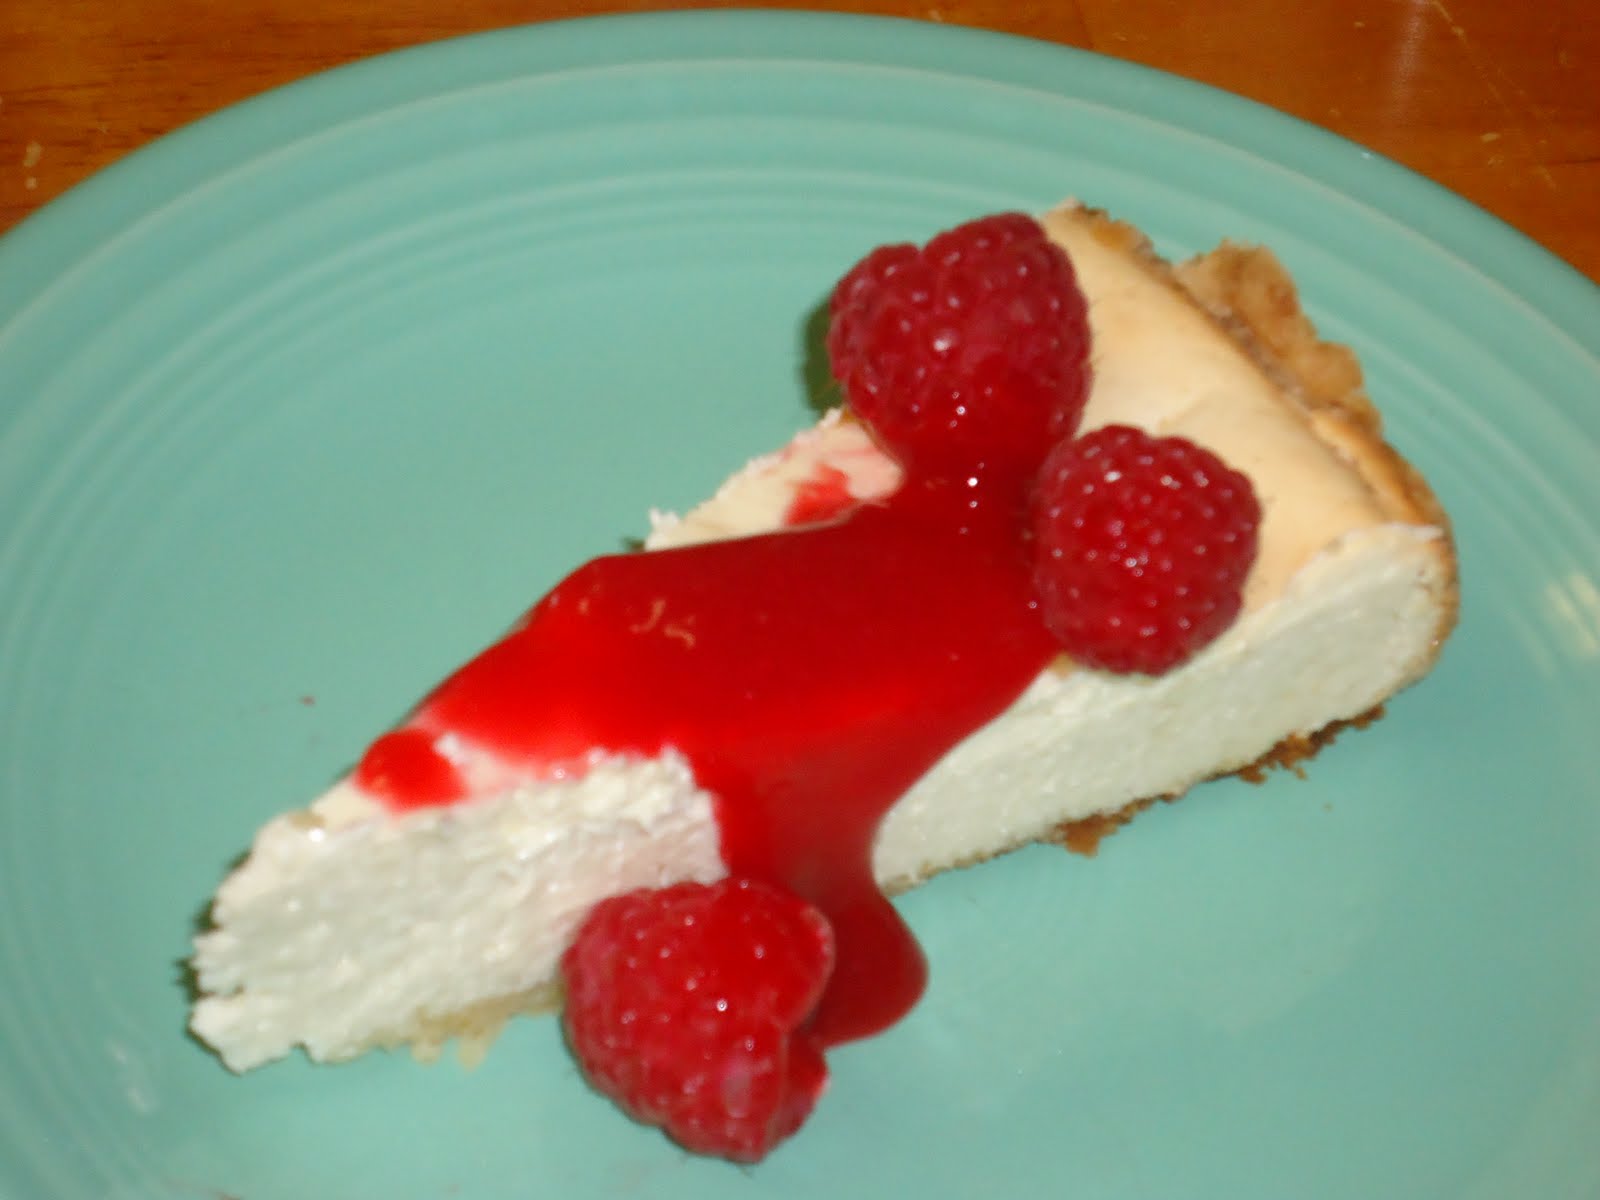
Grade: A-

French Chicken Breast with Orange Tarragon Sauce

 Ingredients
·         8 chicken breasts, skin on and wing bone attached
·         4 tablespoons butter
·         4 tablespoons olive oil
·         Salt and pepper
·         1/2 cup orange juice
·         2 cups chicken broth
·         2 sprigs tarragon
·         4 TBS unsalted butter, cut into bits
Directions                              
Preheat the oven to 375 degrees F.
Put 2 tablespoons of the butter and 2 tablespoons of olive oil into a large skillet and place it over high heat for 2 minutes. Season the chicken breasts with a sprinkling of salt and pepper and place 4 of the breasts in the pan skin side down. Sear for 1 minute or until the skin is crispy and a golden brown. Turn the breasts and sear 1 more minute. Remove to a baking dish and repeat the process with the rest of the butter, oil and breasts. Place the baking dish into the oven for 10 to 15 minutes.
Add orange juice, chicken broth, and tarragon to the hot skillet. Cook until reduced by about 3/4 (sauce should coat the back of a spoon). Right before serving, whisk in the butter. Season with salt and pepper, to taste.
Serve the chicken with the sauce spooned over the top.

Asparagus in Tarragon Cream Sauce Recipe

 Ingredients:

·         2 tablespoons butter
·         3 ounces mushrooms, cleaned and sliced
·         1 shallot, finely chopped
·         1 teaspoon lemon juice
·         2 tablespoons all-purpose flour
·         2/3 cup vegetable stock
·         1/3 cup heavy cream
·         1 tablespoon chopped, fresh tarragon (1 teaspoon dried tarragon)
·         1/8 teaspoon freshly grated nutmeg
·         1/2 teaspoon salt
·         1 1/2 pounds green asparagus, trimmed

Preparation:

In a medium size saucepan over medium heat, melt the butter and sauté the mushrooms for 5 minutes. Add the shallot and lemon juice to the pan and cook the mixture for an additional 3 minutes.
Stir the flour into the mushrooms until completely incorporated, and then add the vegetable stock, stirring until the sauce becomes smooth and thicken slightly. Stir in the heavy cream, tarragon, and nutmeg, and then heat through. (Do not allow the sauce to simmer) Once the sauce is heated, remove it from the heat and cover with a lid to keep warm.


Bring a large shallow pan of water to a boil and salt it. Gently place the asparagus into the water, reduce heat, and cover with a lid. Cook the asparagus for 5-7 minutes, until it’s tender. Drain and serve immediately with the hot tarragon cream sauce.

Sarah digging into the asparagus.

Lucy giving me the evil eye as I take her picture.

Anna very tired during her trip to France.

Emily, in Jen's dress, enjoying her chicken.

Monday, July 25, 2011

Mexican Night


For our Mexican night, I made Cheese Quesadilla with a roasted sweet corn with coconut for the side dish. We went to Dairy Queen for dinner on our way home from vacation a month or so ago and Jen got a quesadilla. We noticed that they made their quesadilla using a waffle maker and we decided to try it. It works brilliantly! All you do is spray the waffle iron with a non-stick cooking spray and turn on. Put down the bottom quesadilla, add whatever you want into the middle, and add the top quesadilla and close the lid. When you hear the cheese melting it is finished. I used Mexican Cheddar-Jack cheese and it was the best tasting cheese quesadilla I have ever had. I highly recommend using the Cheddar-Jack for your Mexican cheese blend.
The roasted sweet corn/coconut was pretty good and easy to make. Because I was making it for everyone, I left the seeds of the jalapeno (which is fresh from the garden) out so it was not too spicy. In hindsight, I should have left some of the seeds of the jalapeno in the corn because with the lime juice it was a little too sweet and needed some spicy to counteract the sweetness. All of the girls tried the corn, except for Lucy and they liked what they ate. Well except Anna said it was too sweet (I think she heard me talking about it).

Grade: A

Roasted Sweet Corn with Coconut

Ingredients
·           Nonstick cooking spray
·         5 ears  corn, kernels removed (2-1/2 cups)
·         1 Tbs.  extra-virgin olive oil
·         1 Tbs.  minced jalapeno pepper, seeded if desired (optional)
·         2 Tbs.  chopped fresh cilantro
·         2 Tbs.  flaked or shredded coconut, preferably unsweetened
·         4 tsp.  lime juice
·         1/8 tsp.  salt
Directions
1
Preheat oven to 400 degree F. Coat a 15x10x1-inch baking pan with cooking spray; set aside.
2
Mix corn with olive oil and jalapeno, if using, in a medium bowl. Spread the corn mixture out evenly in the prepared pan. Roast corn, stirring once, until browned slightly and crisp tender, 10 to 15 minutes.
3
Scrape the corn mixture back into the bowl and mix in cilantro, coconut, lime juice, and salt. Serve warm.

Sarah showing you what she is eating.

Lucy is still working with chewing with her mouth closed.

Emily chowing down on the quesadilla

Thursday, July 21, 2011

The Asian Christmas Meal


What is great to eat for dinner when it is 95 degrees and extremely humid outside? If you said steak stir-fry and a holiday cauliflower casserole you guessed what we had for dinner tonight. If you are thinking any of the following: “Those don’t go together!” “Why would you make that hot heavy dish when it is the middle of summer?” or “I don’t like Swiss cheese!” then you are thinking along the lines of what Jen was thinking when she saw what was for dinner.
I admit that this doesn’t sound like something I would want to eat on July 20th, but it was good. I made the cauliflower casserole because the girls ate cauliflower on Sunday and I wanted to exploit the fact that they will eat a vegetable that is healthy for them. Granted I put 1.5 oz. of Swiss cheese in with the cauliflower, but it still had something healthy, right?
When I make the Holiday Cauliflower Casserole again I will add some Cyan pepper or something to give it a little kick. It was good, but needed a little something extra. The stir-fry meat was a little overdone. I should have cooked it about two minutes less, but the sauce was good “even though I did not use all of the items that were in the recipe).

Grade: A-

Holiday Cauliflower

Ingredients
6 cups water
6 cups cauliflower florets (1 large head cauliflower)
1 4-ounce can sliced mushrooms, drained
¼ cup chopped green sweet pepper
¼ cup butter
1/3 cup all-purpose flour
¼ tsp salt
2 cups milk
1 cup shredded Swiss cheese ( I used 1.5)

1. Preheat oven to 325 degrees. In a large saucepan bring the water to boiling. Add cauliflower; cook for 4-6 minutes or until crisp-tender. Drain cauliflower; set aside.
2. For sauce, in a medium saucepan cook mushrooms and sweet pepper in hot butter until pepper is tender. Stire in flour and salt. Add the milk all at once. Cook and stir until thickened and bubbly. Remove from heat. Stir in Swiss cheese until melted.
3. In a 1.5-quart casserole layer half of the cauliflower and half of the sauce. Top with remaining cauliflower and sauce.
4. Bake, uncovered, for 15 minutes. Serve warm.

Sesame Orange Beef

Ingredients:
8 ounces fresh green beans, halved crosswise
2 tsp sesame seeds (didn’t do)
½ cup orange juice
2 TBS soy sauce
1 TBS toasted sesame oil (didn’t do)
1 tsp cornstarch
½ tsp finely shredded orange peel
Nonstick cooking spray
½ cup bias-sliced green onions (I used ¼ of white onion, diced)
1 TBS grated fresh ginger (used ground)
2 cloves garlic, minced
12 ounces boneless beef sirloin steak, thinly sliced
2 cups hot cooked brown rice
2 oranges, peeled and sectioned or thinly sliced crosswise

1. In a covered medium saucepan, cook green beans in a small amount of boiling water for 6 to 8 minutes or until crisp-tender. Drain; set aside.
2. Meanwhile, in a small skillet cook sesame seed over medium heat for 1 to 2 minutes or until toasted, stirring frequently. Set aside.
3. For sauce, in a small bowl combine orange juice, soy sauce, sesame oil, cornstarch, and orange peel; set aside.
4. Coat an unheated large nonstick skillet with cooking spray. Preheat over medium-high heat. Add green onions, ginger, and garlic to hot skillet; stir-fry for 1 minute. Add the precooked green beans; stir-fry for 2 minutes. Remove vegetables from skillet.
5. Carefully add oil to the hot skillet. Add beef; stir-fry about 3 minutes. Remove from skillet.
6. Stir sauce; add to skillet. Cook and stir until thickened and bubble; cook and stir for 2 minutes more. Return meat and vegetables to skillet. Heat through, stirring to coat all ingredients with sauce. Serve over hot cooked brown rice. Top with orange sections and sprinkle with toasted sesame seeds.
Anna making sure there are no seeds.

Emily trying to squash the orange.

Sarah looking suspicious.

Lucy not sure what to think about the dinner.

Wednesday, July 20, 2011

Italian Night


"What do you want for dinner girls?" Of course we all know the answer......PIZZA! So I suggested that we have Pizza breadsticks and the girls were all loving the idea, but that is only a side dish what goes with "pizza?" Of course pasta. So our Italian Night was born. Jen found the pasta dish on Kraft.com and the breadsticks were from Better Homes and Garden.
I made the mistake of picking up thin crust pizza dough and therefore the breadsticks were a little too close to burned for my liking, but the girls liked it. The pasta dish was very good. The vegetables I added was red peppers, zucchini, and fresh spinach. 

Grade: B+

Creamy Pasta Primavera

what you need

3 cups penne pasta, uncooked
2 Tbsp.  KRAFT Light Zesty Italian Dressing
1-1/2 lb. boneless skinless chicken breasts, cut into 1-inch pieces
  zucchini, cut into bite-size pieces
1-1/2 cups cut-up fresh asparagus (1-inch lengths)
  red pepper, chopped
1 cup fat-free reduced-sodium chicken broth
4 oz.  (1/2 of 8-oz. pkg.) PHILADELPHIA Neufchatel Cheese, cubed
1/4 cup KRAFT Grated Parmesan Cheese
make itCOOK pasta in large saucepan as directed on package.
MEANWHILE, heat dressing in large skillet on medium heat. Add chicken and vegetables; cook 10 to 12 min. or until chicken is done, stirring frequently. Add broth and Neufchatel; cook 1 min. or until Neufchatel is melted, stirring constantly. Stir in Parmesan.
DRAIN pasta; return to pan. Add chicken mixture; mix lightly. Cook 1 min. or until heated through. (Sauce will thicken upon standing.)
Pizza Breadsticks
Ingredients:1 10-ounce package refrigerated pizza dough2 TBS butter or margarine, melted1/2 cup grated Parmesan or Romano cheese2 tsp dried Italian seasoning, crushed1/4 tsp garlic powder1/8 tsp ground red pepper1 8-oz can pizza sauce, warmed.
1. Lightly grease a large baking sheet. Unroll pizza dough and transfer to the prepared baking sheet. Using your hands, press the dough into a 12x9 inch rectangle. Brush the dough with the melted butter.2. In a small bowl combine Parmesan cheese, Italian seasoning, garlic powder, and red pepper; sprinkle over dough. Using a sharp knife, cut dough crosswise into twelve 1-in strips; cut in half lengthwise to make 24 strips. 3. Bake in a 425 degree oven for 10-13 minutes or until golden brown. Serve with pizza sauce.

Emily trying to suck it up like spaghetti.  
Lucy eating so fast her food is blurry!


Anna was in a "special" mood for Italian night.

Sarah giving you a kiss?

Saturday, July 9, 2011

Royal Raspberry Cheesecake


This was a great cheesecake to make. The crust was sweet, but not too sweet. Also, you can have as little or as much of the sauce that you want because you pour it on to individual pieces. This was my second cheesecake that I have made this summer and it definitely came out better than the first one. The adults liked it better than the girls, but oh well, I didn't make it for them! ;-)

Grade: B+

Royal Raspberry Cheesecake
¾ cups all-purpose flour
3 Tbls sugar
½ tsp finely grated lemon peel
6 Tbls butter, softened
1 egg yolk, lightly beaten
¼ tsp vanilla extract
Filling
3 packages (8 oz each) cream cheese, softened
½ tsp finely grated lemon peel
¼ tsp vanilla extract
1 cup sugar
2 Tbls all-purpose flour
¼ tsp salt
2 eggs, lightly beaten
1 egg yolk, lightly beaten
¼ cup milk
Raspberry Sauce
1 Tbls cornstarch
1 package (10 oz) frozen sweetened raspberries, thawed and crushed
½ cup currant jelly (I used apricot preserves)
3 cups whole raspberries

Directions
1. In a bowl, combine the flour, sugar and lemon peel. Cut in butter until crumbly. Stir in egg yolk and vanilla. Pat half of dough onto bottom of a greased 9-in spring form pan with sides removed. Bake at 400 degree for 7 minutes or until golden. Cool completely on a wire rack. Attach sides of pan and grease sides. Pat remaining dough 1-1/2 in. up the sides and press onto bottom crust along the sides of pan. Set aside.
2. For filling, in a large mixing bowl, beat the cream cheese, lemon peel, and vanilla until smooth. Combine the sugar, flour and salt; add to cream cheese mixture, beating until smooth. Add eggs and yolk; beat on low speed just until combined. Stir in milk. Pour into crust. Place pan on a baking sheet.
3. Bake at 375 degrees for 35-40 minutes or until center is almost set. Cool pan on a wire rack for 10 minutes. Carefully run a knife around edge of pan to loosen; cool 1 hour. Chill overnight.
4. For sauce, combine the cornstarch and crushed raspberries in a saucepan until blended. Stir in jelly. Bring to a boil over medium heat; cook and stir for 1 minute or until thickened. Remove from the heat; strain to remove berry seeds. Discard seeds. Cool sauce; refrigerate until serving.
5. Just before serving, remove sides of pan. Cut cheesecake into slices; garnish with sauce and fresh berries. Refrigerate leftovers.

Lucy deciding against the fork.


Sarah being fed a bite. (really, you don't want to try it by yourself?)

Anna enjoying small bites.

Thursday, July 7, 2011

Steak, Rice, and Peas


Wow was this a big time success and simple. The steaks were grilled straight out of the package. The peas were frozen and then microwaved, and the wild rice out of a box and done on the stove top. I cut each girl one piece of steak and everyone, except for Anna, asked for a second piece. All the girls ate the rice which may not sound like a big deal, but normally they refuse to eat rice. There were not any major fighting/yelling at the table. I gave all of the "recipes" for our dinner above so enjoy the pictures.

BTW: on top of my steak is a grilled banana pepper from our garden.

Grade: B
Lucy chewing away.

Sarah showing you the steak.

Anna delicately placing a pea in her mouth.

The best picture of Emily I took!